- 1. Introduction
- 2. What Is a Thermal Tattoo Printer?
- 3. What You Need Before You Start
- 4. How to Print a Tattoo Stencil Step-by-Step
- 5. Choosing and Handling Transfer Paper
- 6. Transferring the Stencil to Skin
- 7. Troubleshooting Common Issues
- 8. Pro Tips for Clean Stencils
- 9. Mistakes Beginners Make
- 10. Practice Builds Confidence
1. Introduction
Getting started with tattooing involves more than just needles and ink—it also means learning how to transfer clean stencils. Thermal tattoo printers offer beginners a fast and reliable way to get crisp outlines onto the skin. But many new artists find them confusing.
This guide offers a detailed walkthrough of how thermal stencil printers work, what tools you need, and how to troubleshoot problems. Along the way, you'll also see what real tattoo artists on Reddit say works best, and where most beginners go wrong.
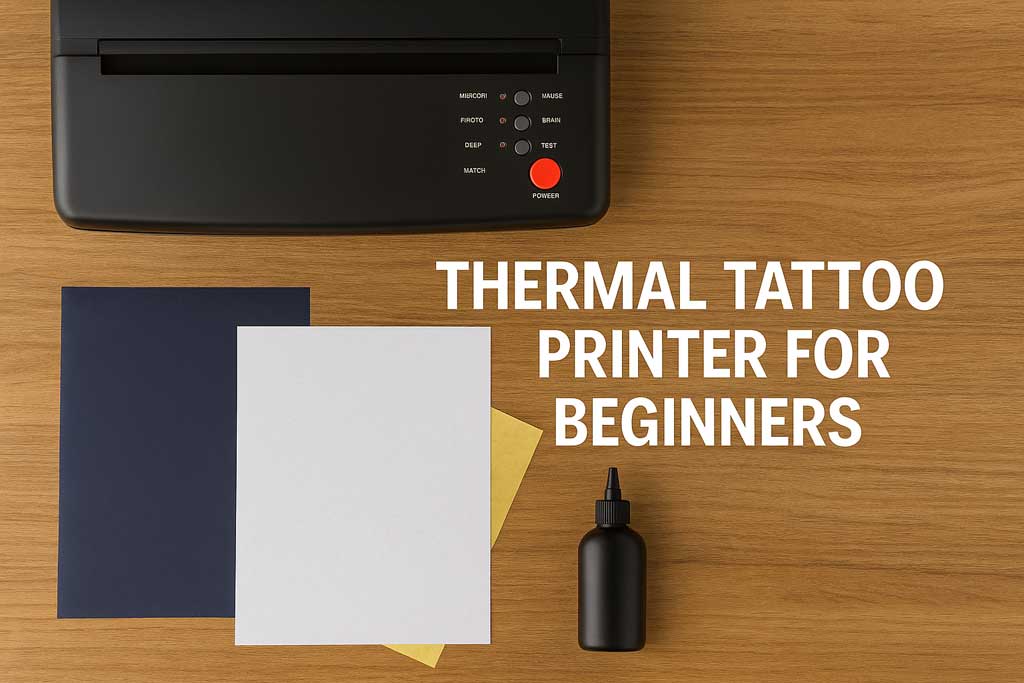
2. What Is a Thermal Tattoo Printer?
A thermal tattoo printer uses heat to transfer line art onto special stencil paper. There’s no ink—just a heating element and pressure.
• Typical resolution: 200–300 DPI
• Works with: 4-ply transfer paper (e.g., Spirit or similar)
• Heat range: 60°C–80°C depending on model
Unlike inkjet printers, thermal units are purpose-built for outlines. No shading, no color, just clean black lines.
3. What You Need Before You Start
To avoid frustration, gather the right tools first:
• A sharp black line drawing (PNG or JPG)
• 4-ply thermal stencil paper
• Mobile or PC with a transfer app or USB connection
• A clean flat surface to work on
Reddit Insight: New users often load the carbon paper upside down or forget to peel off the protective barrier—both cause printing issues.
4. How to Print a Tattoo Stencil Step-by-Step
1. Prepare your design: Stick to high-contrast black lines.
2. Load paper properly: Carbon side down, white sheet on top.
3. Set heat level: Start low; only increase if output is faint.
4. Test first: Always run a test before using expensive stencil sheets.
5. Troubleshoot:
o Blurry lines? File contrast too low.
o Burn marks? Too much heat or pressure.
5. Choosing and Handling Transfer Paper
Tattoo transfer paper has four layers:
• Top white sheet: Final stencil
• Second sheet: Usually discarded
• Carbon layer: Where the design transfers from
• Bottom yellow sheet: Keeps everything stable
Tips:
• Keep paper flat and dry
• Avoid touching carbon with bare hands
• Store in a folder to prevent curl or dust
Reddit Tip: Artists report that handling paper with gloves prevents smudging and keeps stencils sharper.
6. Transferring the Stencil to Skin
Once printed, follow these steps:
• Shave and cleanse the skin with antibacterial soap
• Dry thoroughly with a disposable towel
• Apply transfer gel evenly and thinly
• Wait 10–15 seconds, then press the stencil firmly
• Hold for another 10 seconds before peeling slowly
Let the stencil air dry for 5 to 10 minutes. Avoid blowing on it or wiping. Use nitrile gloves during application to avoid skin oils affecting adherence.
Reddit Reminder: Some artists apply too much gel, causing the stencil to bleed or slide. Less is more here.
7. Troubleshooting Common Issues
Paper jams
Check for curled edges, worn rollers, or loading the paper too fast. Flatten the paper if it curled from humidity.
Faint output
Boost heat incrementally by 5°C and make sure the file is black, not dark gray.
Smears or double lines
Wipe the thermal head with isopropyl alcohol. Check if the carbon side is facing the heating strip.
Wrinkled prints
Slow down the paper feed, make sure the paper isn’t creased beforehand, and inspect the pinch rollers for wear.
Design only partially prints
Resize artwork to fit within the printer margins. Avoid putting designs too close to the edge.
Reddit Story: One user resolved light prints after realizing their digital file was in RGB instead of black and white. Use pure black lines.
8. Pro Tips for Clean Stencils
• Wipe printer rollers every 2–3 sessions
• Use vector-based files for scalable, clean lines
• Design in 300 DPI for better resolution
• Avoid auto-contrast filters on apps—they can reduce line clarity
• Print in a dust-free room to prevent specks on stencil
Also, dedicate one tray or container for stencil paper only—bending or contaminating it even slightly can impact print quality.
9. Mistakes Beginners Make
• Printing without test runs wastes expensive stencil sheets
• Using PNGs with transparency layers instead of flat black JPGs
• Relying on smartphone screenshots—use proper art files
• Applying stencil on oily skin or areas with lotion residue
Reddit Insight: Beginners often aim for “tattoo-ready” prints instead of focusing on usability. A stencil is just a guide—keep it simple.
10. Practice Builds Confidence
Thermal tattoo printers are tools—they won’t do the art for you. But they will make your job easier.
Start simple. Focus on line clarity. Learn how heat, pressure, and paper interact. When in doubt, test and retry.
Even the most experienced artists mess up a stencil now and then. The difference is, they’ve learned how to fix it fast.

Share:
Can Thermal Tattoo Printers Print on Skin?
Can I use a regular stencil paper for an all-white tattoo