- 1. Introduction: Why Proper Maintenance Matters More Than You Think
- 2. Understanding the Working Parts of a Thermal Tattoo Printer
- 3. Daily Cleaning Routine Before and After Use
- 4. Weekly Deep-Cleaning Checklist for Long-Term Performance
- 5. Dealing with Common Problems: Jammed Paper, Faded Prints, and Ghosting
- 6. Environmental Care: Humidity, Dust, and Power Issues
- 7. The Right Supplies: Alcohol, Paper Quality, and Accessories
- 8. Firmware, Calibration, and Resetting the Printer
- 9. Real User Experiences and Reddit-Proven Fixes
- 10. Maintenance Mistakes That Could Void Your Warranty
- 11. How to Know When It’s Time to Replace a Component
- 12. Final Thoughts: Protecting Your Investment and Your Work
1. Introduction: Why Proper Maintenance Matters More Than You Think
Maintaining your thermal tattoo printer is more than just a good habit—it directly affects stencil quality, session flow, and customer satisfaction. A printer that jams or fades mid-session can ruin your pace and create delays. This guide focuses on daily care, long-term maintenance, and real-world fixes to keep your stencil printer in excellent shape. The advice shared here is based on industry knowledge, tattoo artists’ personal experiences, and tips from communities like Reddit.
2. Understanding the Working Parts of a Thermal Tattoo Printer
To maintain your printer effectively, it’s helpful to understand its key parts:
• Thermal print head – Creates the image by heating the thermal paper. Needs to stay clean and scratch-free.
• Paper rollers – Move and align paper. Dust or glue residue here can cause jams or crooked prints.
• Sensor eye – Detects paper position. A dirty sensor leads to feeding errors or blank sheets.
• Cooling fan and feed tray – Manage airflow and paper movement. Both should be kept clear of debris.
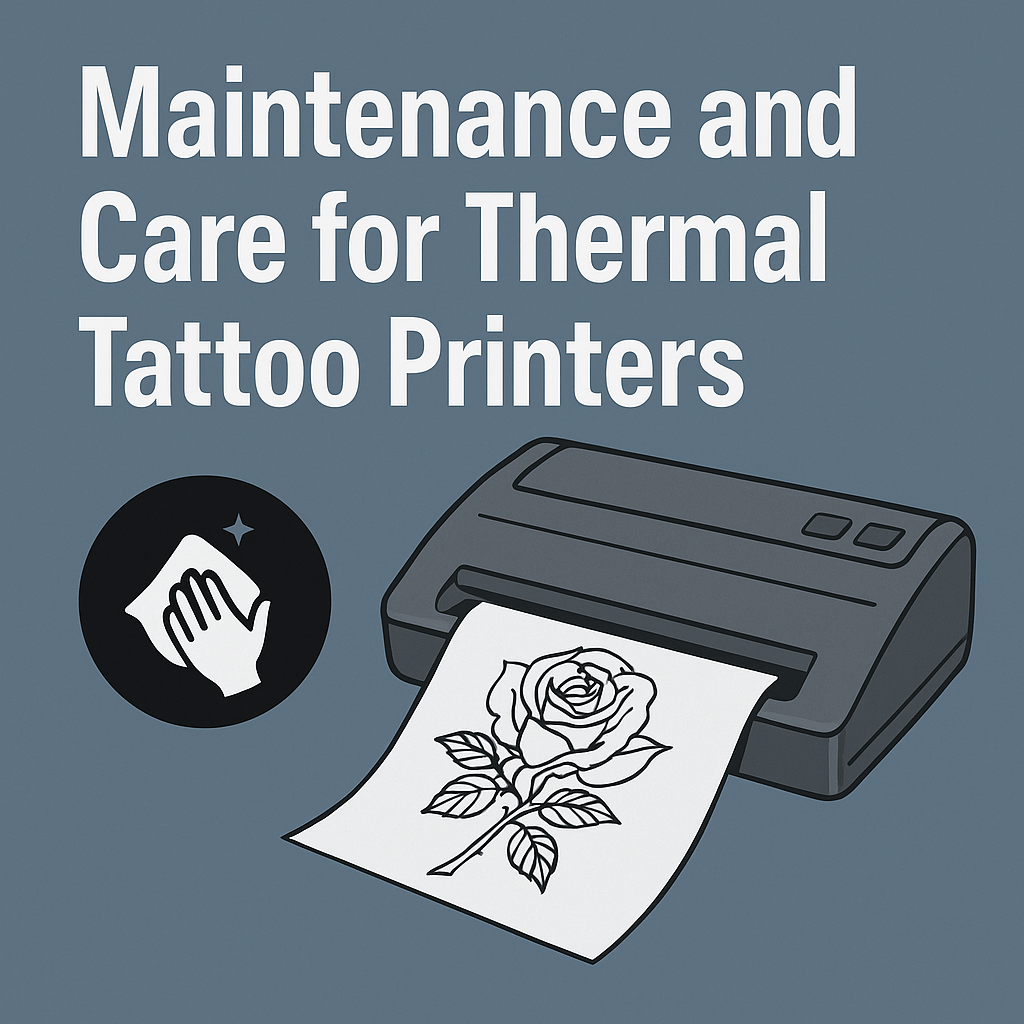
3. Daily Cleaning Routine Before and After Use
A basic cleaning routine can prevent most printing issues:
• Clean the paper path and printer shell with a microfiber cloth
• Use 75% isopropyl alcohol and a lint-free swab to gently wipe the print head (one direction only)
• Let parts dry fully before use
This process takes less than five minutes and greatly improves consistency. As one Reddit user put it, "I was about to throw it out, then I wiped the head with alcohol and it started printing perfectly again."
4. Weekly Deep-Cleaning Checklist for Long-Term Performance
For best results, add a deeper cleaning routine once a week:
• Power off and unplug the printer
• Remove any paper
• Wipe the rollers, head, and inside edges
• Use a soft brush or compressed air to clean the sensor
• Inspect for leftover adhesive or paper debris
Shops with heavy daily use may need this every three days.
5. Dealing with Common Problems: Jammed Paper, Faded Prints, and Ghosting
These are the most common issues:
• Paper jams – Caused by dirty rollers or misaligned paper. Reseat the roll and clean the rollers.
• Faded output – Often linked to a dirty print head or low-quality paper. Try Spirit paper and clean the head.
• Ghosting – Happens with high contrast or incorrect feed settings. Adjust these in your app.
Reddit feedback: "Ghosting disappeared once I stopped using mirror mode and changed paper."
6. Environmental Care: Humidity, Dust, and Power Issues
Tattoo printers need a stable environment:
• Keep them in dry, dust-free spaces
• Use dust covers when not in use
• Protect from power surges using a surge protector or UPS backup
A Reddit user shared how an unstable power supply caused motherboard failure that wasn't covered by warranty—worth the small investment in protection.
7. The Right Supplies: Alcohol, Paper Quality, and Accessories
What you use matters:
• Stick to 75% alcohol only
• Avoid industrial solvents or oils
• Use trusted stencil papers like Spirit or S8
• Handle paper with clean hands to avoid smudging or misfeeds
Replacement kits are available for worn rollers or damaged print heads.
8. Firmware, Calibration, and Resetting the Printer
Some models allow calibration and reset to fix glitches:
• Reset: Press and hold Stop + Mirror + Copy for 10 seconds (varies by brand)
• Adjust contrast or feed speed in printer app or onboard settings
Fine-tuning print settings often fixes minor image problems.
9. Real User Experiences and Reddit-Proven Fixes
From Reddit and tattoo forums:
• “Switched to JPEG at 300dpi—prints instantly got clearer.”
• “Streaks gone after cleaning both roller and print head.”
• “Updated driver via USB—fixed freezing during jobs.”
These are real situations with simple fixes that helped working artists.
10. Maintenance Mistakes That Could Void Your Warranty
Avoid:
• Opening internal parts without support approval
• Using the wrong cleaning agents (e.g. 90% alcohol)
• Ignoring user manuals when troubleshooting
When in doubt, ask the manufacturer or check community forums first.
11. How to Know When It’s Time to Replace a Component
Signs a part needs replacing:
• Constant faded areas after cleaning
• Overheating during short print runs
• Uneven feeding or grinding noise from rollers
These often mean the print head or rollers are worn down.
12. Final Thoughts: Protecting Your Investment and Your Work
Daily and weekly care isn’t just about preventing problems—it’s about delivering reliable, professional work. Tattoo stencils are your first impression. With good maintenance and the right setup, your thermal printer will stay consistent and efficient.
Back up your printer settings, use high-quality materials, and don’t skip the basics. Stay active in artist communities like Reddit, where real users offer valuable help every day.

Share:
Can Thermal Tattoo Printers Be Used for Custom Designs
Are Thermal Tattoo Printers Worth the Investment?