Table of Contents
- 1. Introduction: Why This Guide Matters
- 2. Understanding Thermal Tattoo Printers: What They Do and How They Work
- 3. Who This Is For: Beginners, Artists, and Traveling Pros
- 4. What You Actually Need: Tools That Make a Difference
- 5. Unboxing and Checking Your Printer: Avoid These Easy Mistakes
- 6. Choosing the Right Thermal Paper: What Works and What Doesn’t
- 7. Connecting the Printer to Your Device: PC, Mac, iPad
- 8. Making a Stencil File That Prints Well
- 9. How to Load the Paper Without Jams or Misalignment
- 10. Printing Step-by-Step: From File to Clear Stencil
- 11. Reddit’s Favorite Tips That Actually Work
- 12. Fixing Problems: Streaks, Light Prints, Curling, Overheating
- 13. Studio Advice That Helps Every Day
- 14. Final Checklist Before You Start Using It on Skin
- 15. FAQ: Real Questions from Artists and Beginners
- 16. Recap: From Setup to Steady Use
1. Introduction: Why This Guide Matters
This article is written to help tattoo artists and beginners set up a thermal tattoo printer with confidence. It reflects hands-on testing, product knowledge, and verified feedback from tattoo professionals and online tattoo forums like Reddit. We focus on accurate technical explanations, trustworthy product comparisons, and workflow optimization.
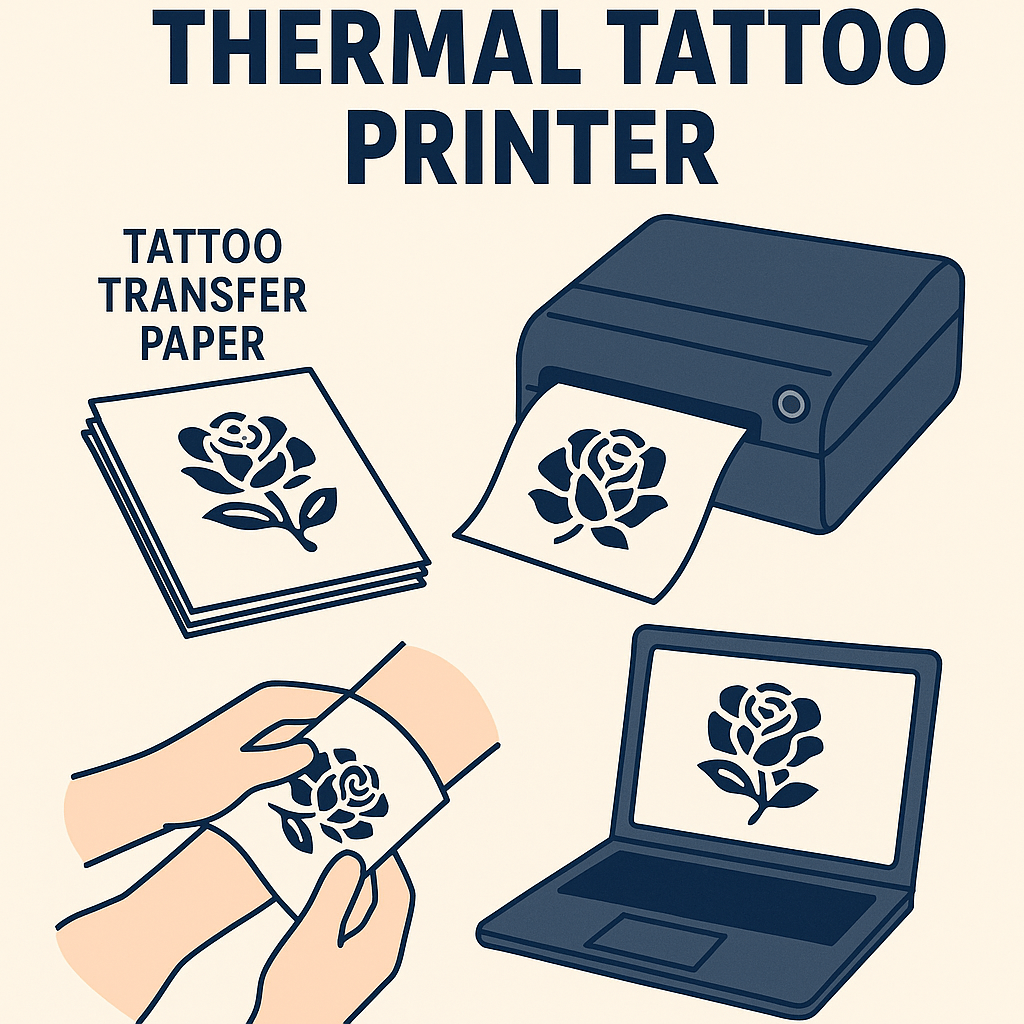
A thermal tattoo printer uses heat instead of ink to transfer a black-and-white design onto thermal stencil paper. The printer head applies heat to the carbon layer in the paper, creating a stencil that can be transferred onto skin.
Image #1 – Thermal Tattoo Printer Cross-Section Diagram: A labeled diagram showing the key components of a thermal tattoo printer, including the print head, roller feed, and layered stencil paper structure (white sheet, carbon sheet, separator, and yellow backing sheet). This helps readers understand how each layer contributes to the print.
3. Who This Is For: Beginners, Artists, and Traveling Pros
If you're just starting out or frequently travel for conventions or home visits, this guide is designed to solve the most common issues like light prints, streaks, jamming, or bad alignment. It includes fixes shared by Reddit users and studio professionals.
4. What You Actually Need: Tools That Make a Difference
Before setting up your printer, prepare the following items. Each component plays a critical role in a smooth stencil transfer process:
Image #2 – Complete Setup Kit Flat-Lay: A top-down image of a workspace showing each item above labeled and laid out neatly: printer, paper stack, cable, mobile phone, stencil gel bottle, clip, and gloves.
| Item | Specification/Details |
| Thermal Tattoo Printer | Brother PocketJet |
| Thermal Transfer Paper | Classic Thermal Paper (A4/Letter) |
| Mobile or Desktop Device | Android/iOS, Windows PC, or Mac |
| Connectivity Method | USB, OTG adapter, or Bluetooth |
| Software/Application | Brother iPrint |
| Accessories | Binder clip, stencil gel, cotton swabs, gloves |
5. Unboxing and Checking Your Printer: Avoid These Easy Mistakes
After unboxing your device:
• Inspect the paper slot for foam or shipping tape.
• Gently wipe the print head with an alcohol pad.
• Confirm the USB or power connections are stable.
Image #3 – Device Inspection Close-Up: Zoom-in shot of someone removing packaging material from the printer’s interior paper slot and cleaning the print head with a swab.
6. Choosing the Right Thermal Paper: What Works and What Doesn’t
Not all stencil papers deliver the same results. Below is a comparison of top paper options:
Image #4 – Paper Comparison Image: Side-by-side visual showing Spirit and S8 packs opened to reveal individual layers, with annotations for top, carbon, and separator sheets.
| Brand | Layers | Strengths | Size |
| Spirit | 4 (White/Carbon/Sheet/Yellow) | Industry standard, crisp lines | A4/Letter |
| S8 | 3-layer | Strong contrast, lasts longer on skin | A4 |
7. Connecting the Printer to Your Device: PC, Mac, iPad
Use the correct method based on your device:
• Windows/macOS: Install the official driver, select “actual size” during print.
• iOS: Use a Lightning-to-USB OTG adapter and compatible app.
• Android: Connect via Bluetooth; test using PrintHand.
Image #5 – Device Connection Setup: Image showing printer linked to a laptop via USB and to a smartphone via OTG cable, with clear labels indicating each method.
8. Making a Stencil File That Prints Well
Design preparation matters just as much as hardware. Always:
• Convert the image to grayscale.
• Clean lines and remove shading using Photoshop or Procreate.
• Export as PNG or high-res JPG (minimum 300 dpi).
• Flip image horizontally before printing.
Image #6 – File Prep Screenshot Comparison: Split-screen of two digital designs: one with crisp, thick lines and another with faint grayscale shading. Captions explain why only one will transfer clearly.
9. How to Load the Paper Without Jams or Misalignment
Correct loading avoids the most frustrating problems:
• Peel off the yellow backing sheet.
• Face the white side upward toward the print head.
• Insert gently—paper should lay flat and even.
• Align the edge using a clip for support if needed.
Image #7 – Paper Loading Demo: Hands placing stencil paper into printer with step-by-step labels (1: peel yellow, 2: align edge, 3: feed forward).
10. Printing Step-by-Step: From File to Clear Stencil
Follow these steps:
1. Open your file using your app or print dialog
2. Set print size to 100%, no scaling
3. Mirror the image
4. Choose medium heat or “Deepness 2”
5. Press print and wait 30 seconds before touching output
Image #8 – Printing in Action: Photo of a thermal tattoo printer actively ejecting a finished stencil, showing line quality and correct orientation.
11. Reddit’s Favorite Tips That Actually Work
• “Use preview mode to avoid wasting paper.”
• “Print two versions—one to test placement, one final.”
• “High humidity? Use a blow dryer on the paper beforehand.”
• “Wait 2–3 minutes between prints if your machine overheats.”
12. Fixing Problems: Streaks, Light Prints, Curling, Overheating
| Issue | Likely Cause | Fix |
| Streaks | Dirty print head | Clean with isopropyl alcohol |
| Faint lines | Paper misaligned or low heat | Reload and raise heat setting |
| Paper curling | Moisture or storage issues | Store flat, use dry paper |
| Overheating | Printing too frequently | Print in batches; allow cooling breaks |
13. Studio Advice That Helps Every Day
• Print test stencils on fake skin before real sessions.
• Keep extra paper, USB cables, and stencil gel nearby.
• Clean printer weekly to avoid long-term buildup.
• Place reminder cards on your workstation.
Image #9 – Clean Studio Workflow Image: Neatly organized tattoo station with printer, laminated checklist, cleaning tools, and a spare stack of stencil paper.
14. Final Checklist Before You Start Using It on Skin
Before placing a stencil on your client’s skin, go through this essential pre-application checklist. It helps reduce errors, improves print transfer quality, and reflects professional studio practices.
Step What to Check
Paper Orientation White layer facing the print head, yellow backing removed
Image File High-resolution (300 dpi), mirrored, with black-only linework
Print Output Clear and sharp with no gaps, streaks, or smudges
Printer Condition Print head clean, device cool, no residue on rollers
Room Environment Dry, stable temperature (avoid humid areas to prevent curling)
Tools at Hand Stencil gel, gloves, extra paper, cotton swabs, synthetic skin for testing
Image #10 – Pre-Transfer Readiness Shot: A clean workspace image showing: one freshly printed stencil on flat table, gloves placed beside, stencil gel ready with the cap off, and a test patch of synthetic skin nearby. This setup shows the user is fully prepared to begin the stencil transfer.
Taking two minutes to confirm this list can save time, reduce stress, and build trust with your clients by showing that your workflow is organized and thoughtful.
15. FAQ: Real Questions from Artists and Beginners
In this section, we answer some of the most frequently asked questions gathered from Reddit tattoo forums, Quora threads, and Google search queries. Each response provides actionable, field-tested guidance.
Q1: Why does my thermal tattoo printer leave streaks or vertical lines on every print?
Solution: Usually due to a dirty or damaged print head. Use isopropyl alcohol and a cotton swab to gently clean the head. Let it dry before retrying.
Q2: My stencil is too light—how can I fix it?
Solution: Increase print heat setting (like Deepness 2 or 3). Use only thermal stencil paper. Check that your image is pure black & white, and don’t use grayscale.
Q3: Why does the paper jam or feed incorrectly?
Solution: Flatten your paper, align it perfectly, and feed it one sheet at a time. Use a clip to hold the stack if needed during feed-in.
Q4: Can I connect the printer to my iPad or iPhone?
Solution: Yes, with a Lightning-to-USB OTG adapter and a compatible printing app like PrintHand. Export the file as PNG and print from the app.
Q5: My stencil curls after printing—why?
Solution: Likely due to humidity or overheating. Store paper flat, let it cool before handling, and press the print between books if needed.
Q6: Can I print directly from Procreate or Photoshop?
Solution: Export as PNG or 300dpi JPG, then open the file in a printing app that supports your printer.
Q7: How often should I clean the print head?
Solution: After every session is ideal, especially in busy shops. Only use 70% isopropyl alcohol, and let the printer cool before cleaning.
Q8: Why is my image reversed after printing?
Solution: It was likely mirrored twice—once in your software and once in the print settings. Turn off one mirror setting and test again.
16. Recap: From Setup to Steady Use
Setting up a thermal tattoo printer doesn't have to be a guessing game. This guide delivers step-by-step instruction backed by artist insights, real user feedback, and clear examples. With the right paper, correct file prep, and good maintenance, you’ll consistently produce professional-quality stencils.
Share:
Can Thermal Tattoo Printers Be Used for Large Designs?
Thermal Tattoo Printer vs. Inkjet Tattoo Printer